
Jekyll Theme Chirpy 적용해보기
Jekyll Theme 적용하기
Jekyll Theme 선택
Github Page, Jekyll, Ruby 가 준비되었으니 페이지를 블로그처럼 꾸며보겠습니다.
Jekyll theme를 적용해 만들어보겠습니다.
- http://jekyllthemes.org/
- https://jekyllthemes.io/free
- http://themes.jekyllrc.org/
- https://github.com/topics/jekyll-theme
Jekyll Theme를 지원하는 페이지는 구글링을 통해서 더 다양하게 찾아볼 수 있습니다.
이번에는 Chripy theme를 사용해보겠습니다.
chirpy theme 적용하기
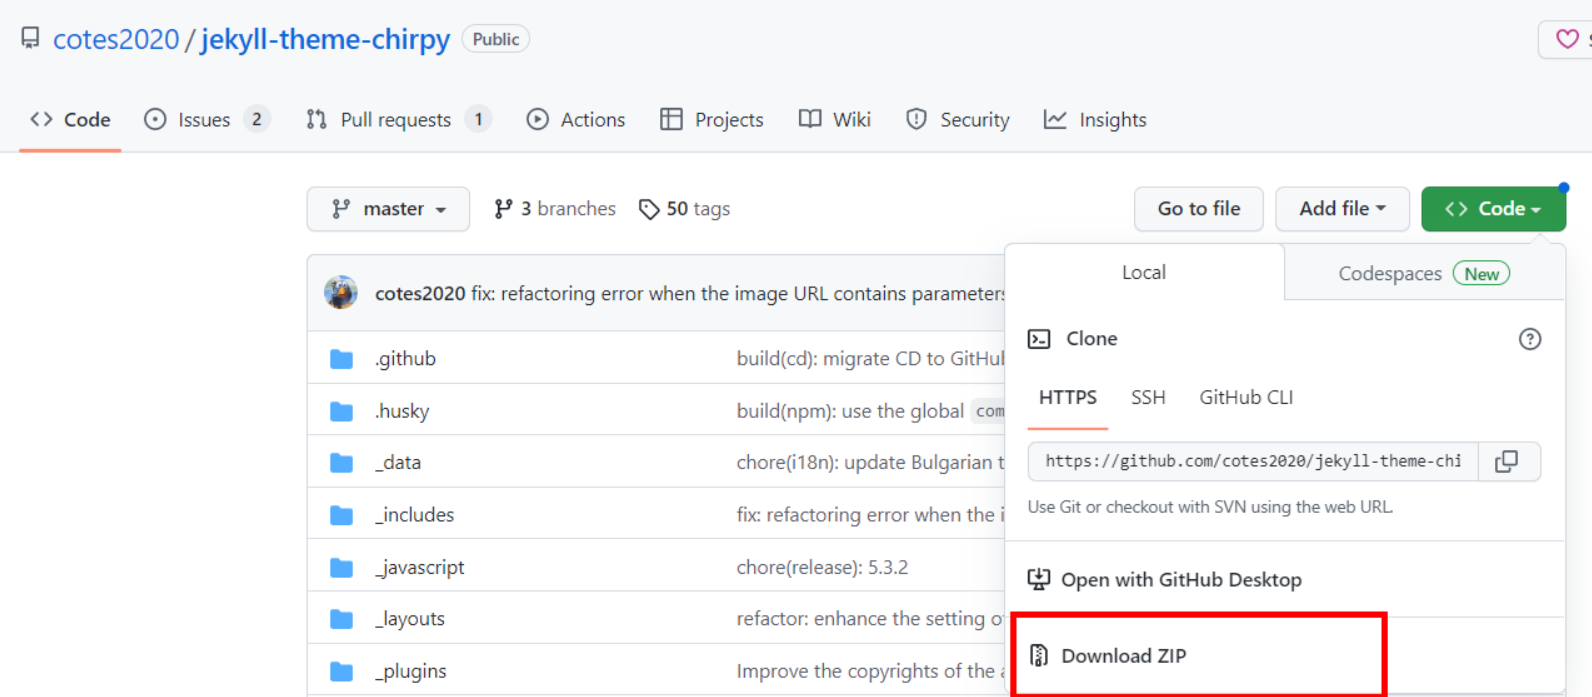
정한 테마의 Download나 Github repository에서 다운로드합니다.
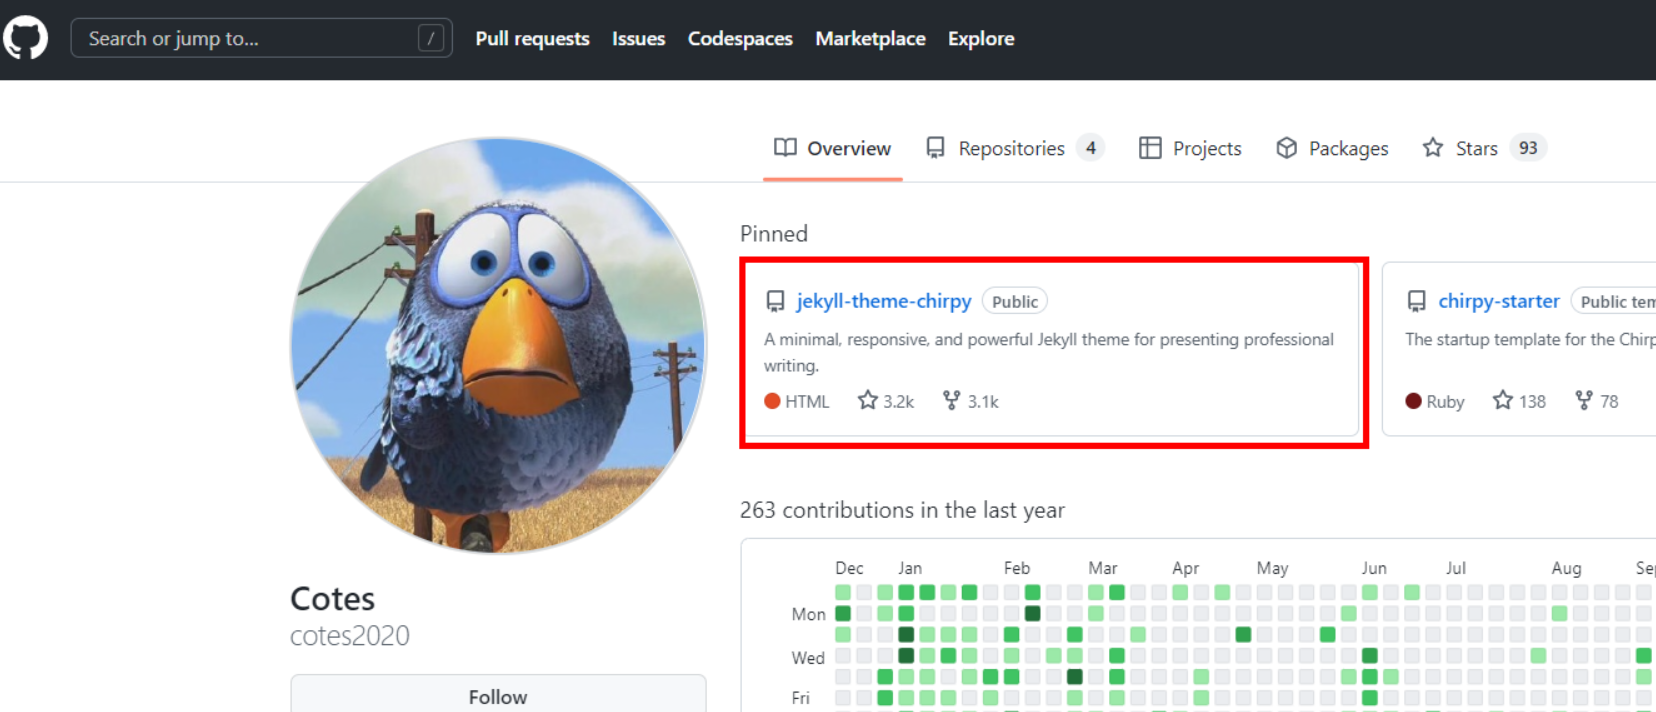
Chirpy theme를 github를 통해 다운로드해보겠습니다.
https://github.com/cotes2020로 이동합니다.
압축파일을 풀어서 복사한 후, Clone한 Local repository에 붙여넣습니다.
겹치는 파일은 덮어씌워줍니다.
파일 그대로 Github repository에 push하면 빌드과정에서 에러가 발생합니다.
따라서, 초기화 시켜주겠습니다.
첫 번째 방법 : VScode의 Git bash를 이용해 압축을 푼 파일 중 tools/init.sh 파일을 실행시켜줍니다.
1
   bash tools/init.sh
두 번째 방법 : 직접 파일들을 삭제해 줍니다.
Gemfile.lock.github폴더 안의workflows폴더를 제외한 나머지 파일들.github/workflows폴더 안의commitlink.yml,page-deploy.yml.hook을 제외한 나머지 파일들page-deploy.yml.hook파일 이름에서.hook지우기
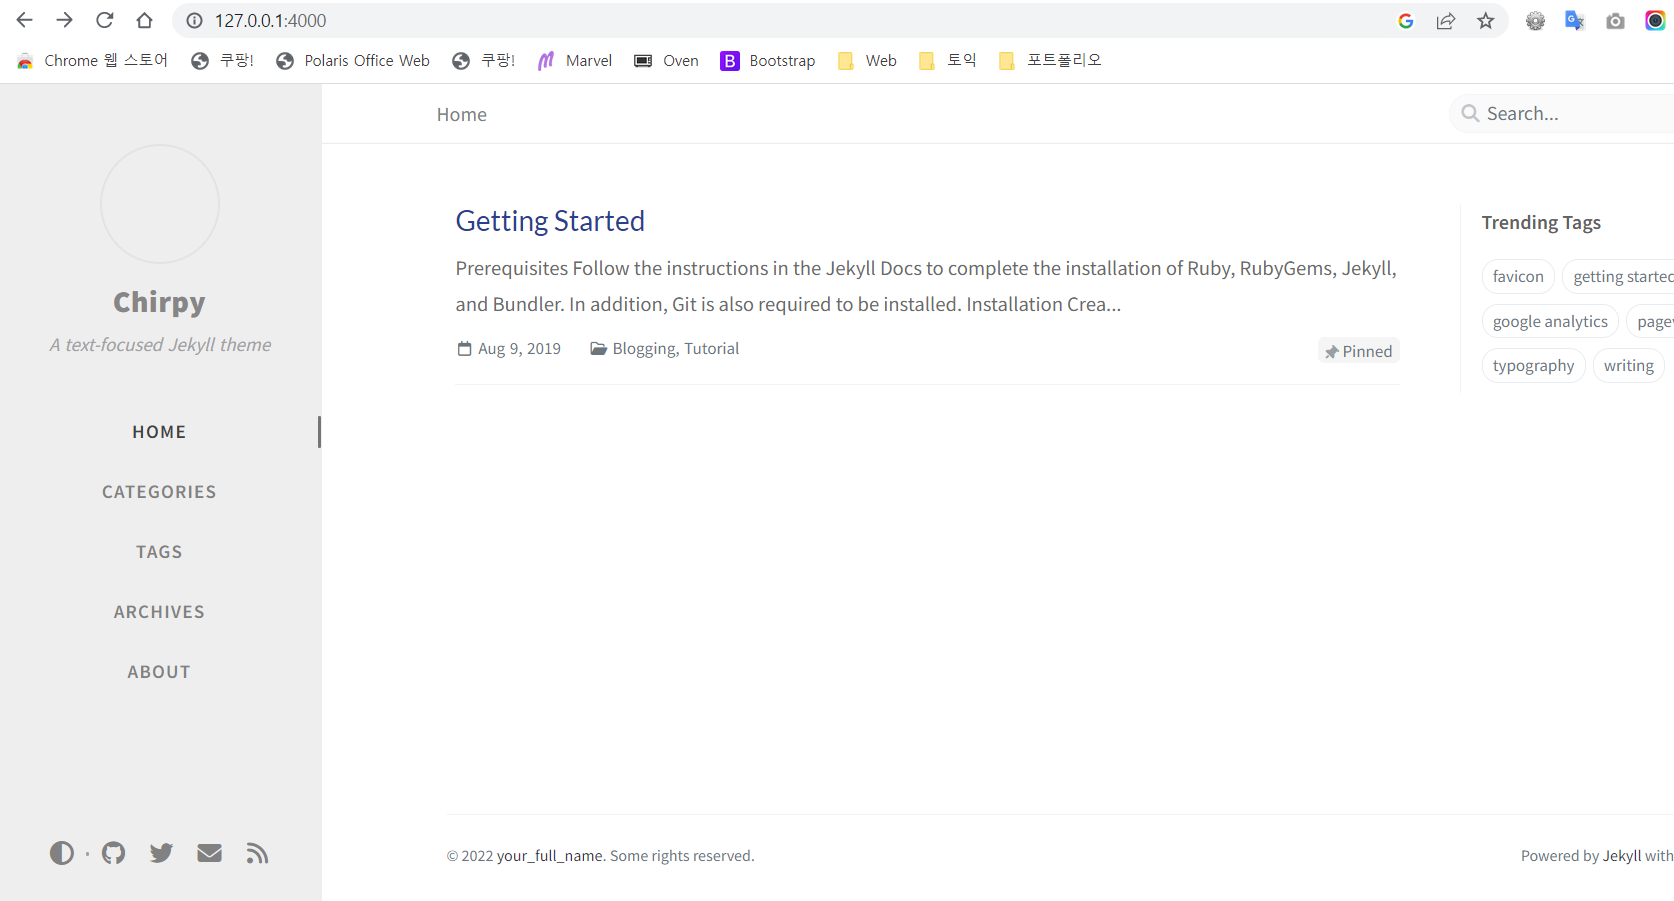
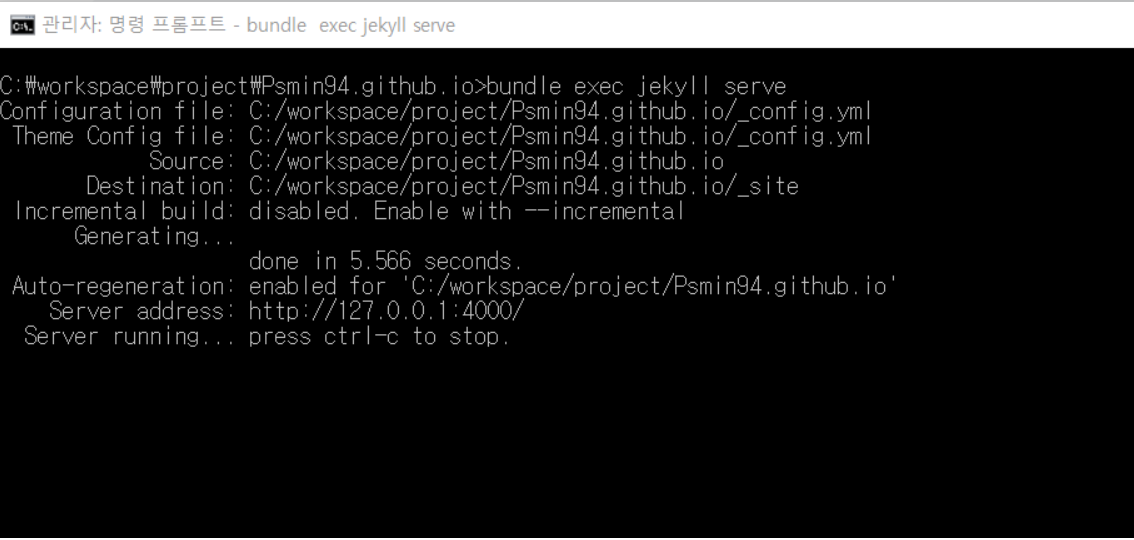
서버를 열어줍니다.
1
2
   bundle install
   bundle exec jekyll s
http://127.0.0.1:4000/ 또는 http://localhost:4000/로 접속합니다.
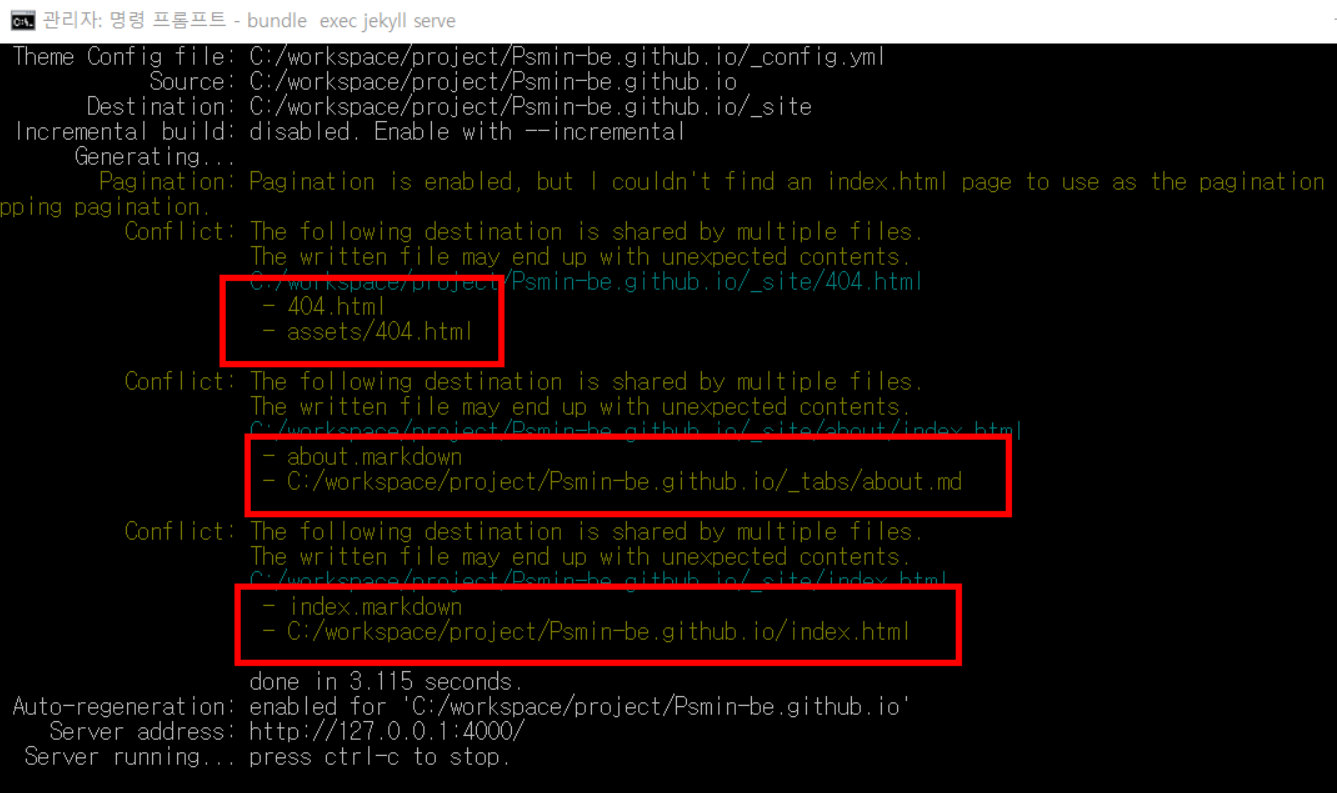
The following destination is shared by multiple files.
The written file may end up with unexpected contents.앞 포스팅에서 jekyll설치 테스트를 위해 서버를 열었을 때 생긴 파일과 충돌하는 것 같습니다.
다운받은 chirpy theme의 파일만 남겨두고 삭제해줍니다.
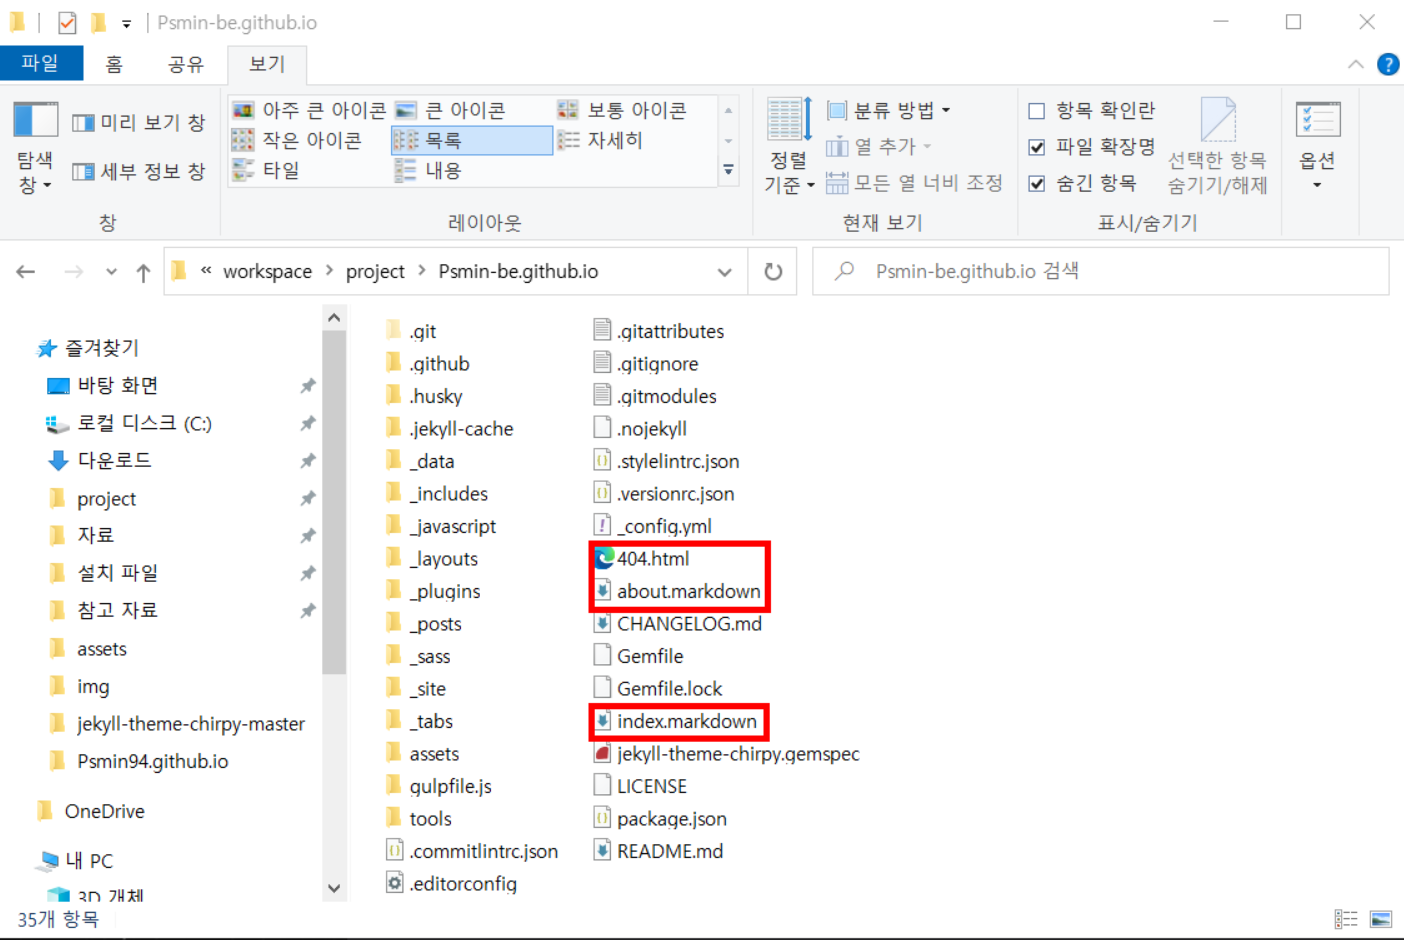
404.htmlabout.markdownindex.markdown
파일을 삭제해줍니다.
기본 설정하기
_config.yml 수정
해당 파일은 테마마다 다르기 때문에, 각 테마의 README.md 파일이나 구글링 등을 통해 확인하시고 수정하시길 바랍니다.
jekyll-theme-chirpy 테마의 _config.yml의 내용을 확인해보겠습니다.
1
2
3
4
5
6
7
8
9
10
11
12
13
14
15
16
17
18
19
20
21
22
23
24
25
26
27
28
29
30
31
32
33
34
35
36
37
38
39
40
41
42
43
44
45
46
47
48
49
50
51
52
53
54
55
56
57
58
59
60
61
62
63
64
65
66
67
68
69
70
71
72
73
74
75
76
77
78
79
80
81
82
83
84
85
# The Site Configuration

# Import 하는 테마의 이름
theme: jekyll-theme-chirpy

baseurl: ""

#사용 하는 언어 설정
lang: ko-KR

#timezone 설정
timezone: Asia/Seoul

# jekyll-seo-tag settings › https://github.com/jekyll/jekyll-seo-tag/blob/master/docs/usage.md
# ↓ --------------------------

#블로그 이름
title: Psmin-be

tagline: Psmin-be chirpy blog

description: >- # used by seo meta and the atom feed
  A minimal, responsive, and powerful Jekyll theme for presenting professional writing.

# 'https://username.githun.io'
url: "psmin-be.github.io"

github:
  username: psmin-be # change to your github username

#twitter:
#  username:             # change to your twitter username

social:
  # Change to your full name.
  # It will be displayed as the default author of the posts and the copyright owner in the Footer
  name: Psmin-be
  email: Psmin-be@gmail.com # change to your email address
  links:
    # The first element serves as the copyright owner's link
    # - https://twitter.com/username      # change to your twitter homepage
    - https://github.com/psmin-be # change to your github homepage
    # Uncomment below to add more social links
    # - https://www.facebook.com/username
    # - https://www.linkedin.com/in/username

google_site_verification: # fill in to your verification string

# ↑ --------------------------
# The end of `jekyll-seo-tag` settings

google_analytics:
  id: # fill in your Google Analytics ID
  # Google Analytics pageviews report settings
  pv:
    proxy_endpoint: # fill in the Google Analytics superProxy endpoint of Google App Engine
    cache_path: # the local PV cache data, friendly to visitors from GFW region

# Prefer color scheme setting.
#
# Note: Keep empty will follow the system prefer color by default,
# and there will be a toggle to switch the theme between dark and light
# on the bottom left of the sidebar.
#
# Available options:
#
#     light  - Use the light color scheme
#     dark   - Use the dark color scheme
#
theme_mode: # [light|dark]

# The CDN endpoint for images.
# Notice that once it is assigned, the CDN url
# will be added to all image (site avatar & posts' images) paths starting with '/'
#
# e.g. 'https://cdn.com'
img_cdn: "https://demo-img.cotes.page"

# the avatar on sidebar, support local or CORS resources
avatar: "/commons/avatar.jpg"

# boolean type, the global switch for ToC in posts.
toc: true
# 아래로는 다음에 포스팅하겠습니다.
# 당장은 안해도 무관합니다.
Chirpy Theme Source
_data : 언어 설정에 따라 기본적으로 화면에 나오는 단어들을 변경할 수 있다.
왼쪽 사이드바, 하단의 공유하기 등을 변경할 수 있다.
_include : comments, footer, toc 등 모듈형으로 삽입되는 UI를 변경할 수 있습니다.
_layout : 블로그 전역에 적용되는 형식을 변경할 수 있습니다.
_posts : 내가 작성한 블로그 글 모음입니다.
_sass : css 파일을 변경할 수 있습니다.
_site : 로컬에서의 화면 UI 관련 모음입니다. git에서는 올라가지 않습니다.
_tabs : 좌측 사이드바의 tab 메뉴 클릭 시 나오는 페이지입니다.
assets : css, img 등의 정적 컨텐츠 모음입니다.
_config.yml : 블로그 기본 환경설정